
Keep recipe ideas and storage hooks out of sight
Keep recipe ideas and storage hooks out of sight
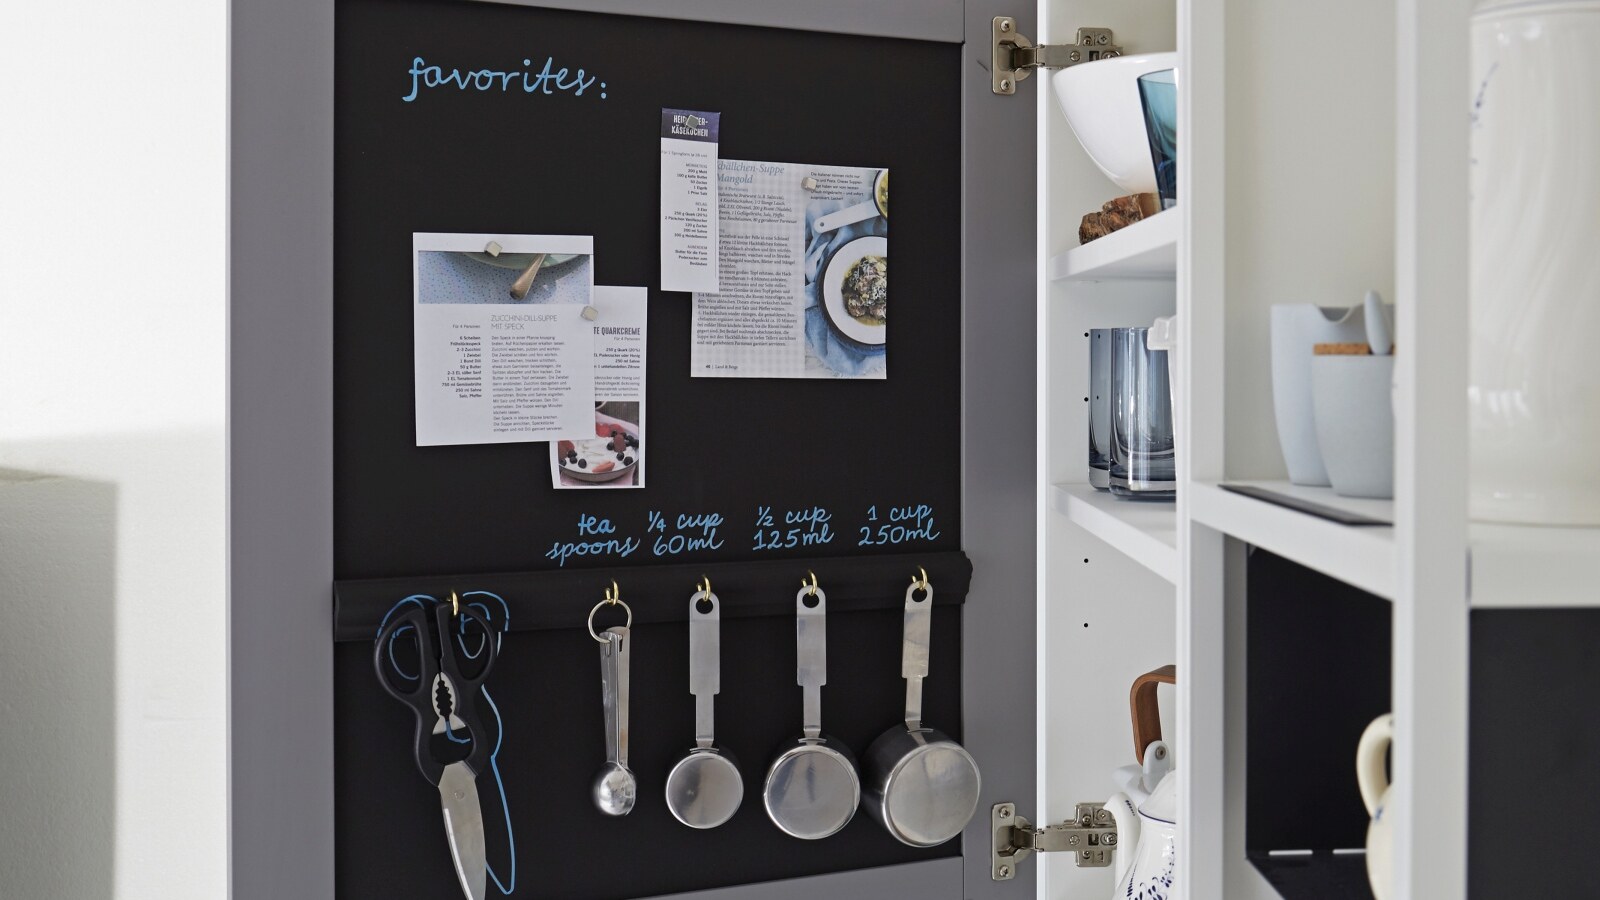
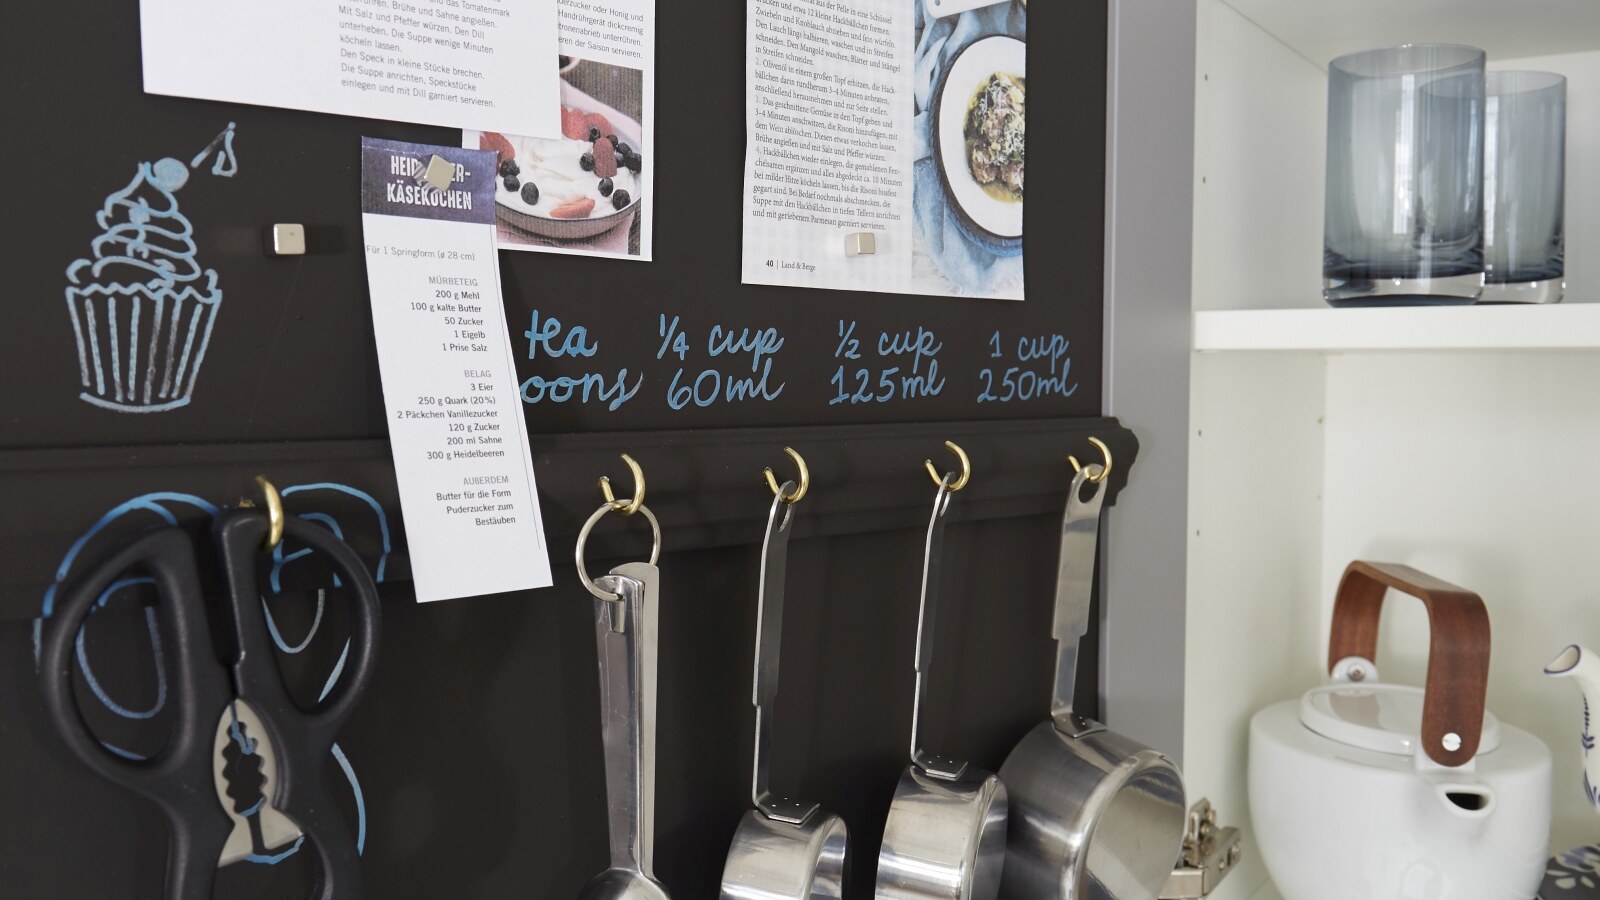
This practical organiser for recipe ideas and utensil hooks isn't easy to spot at first glance. That’s because it's neatly hidden inside a cupboard! The first step is to prime the inside of the cupboard door with special chalkboard paint. Once the paint has dried, add your labelling using the fine-tipped edding chalk markers by Securit. You can make a note of recipe ideas as well as mark out a space for storing scissors or other utensils. But what makes this incredibly practical is that the ink can easily be wiped off with a damp cloth, allowing you to start over with a new design as many times as you like.
copyright: MMOS
Category
Kitchen
Products
Chalk markers
Materials
Chalkboard
Difficulty
Easy peasy
Step 1
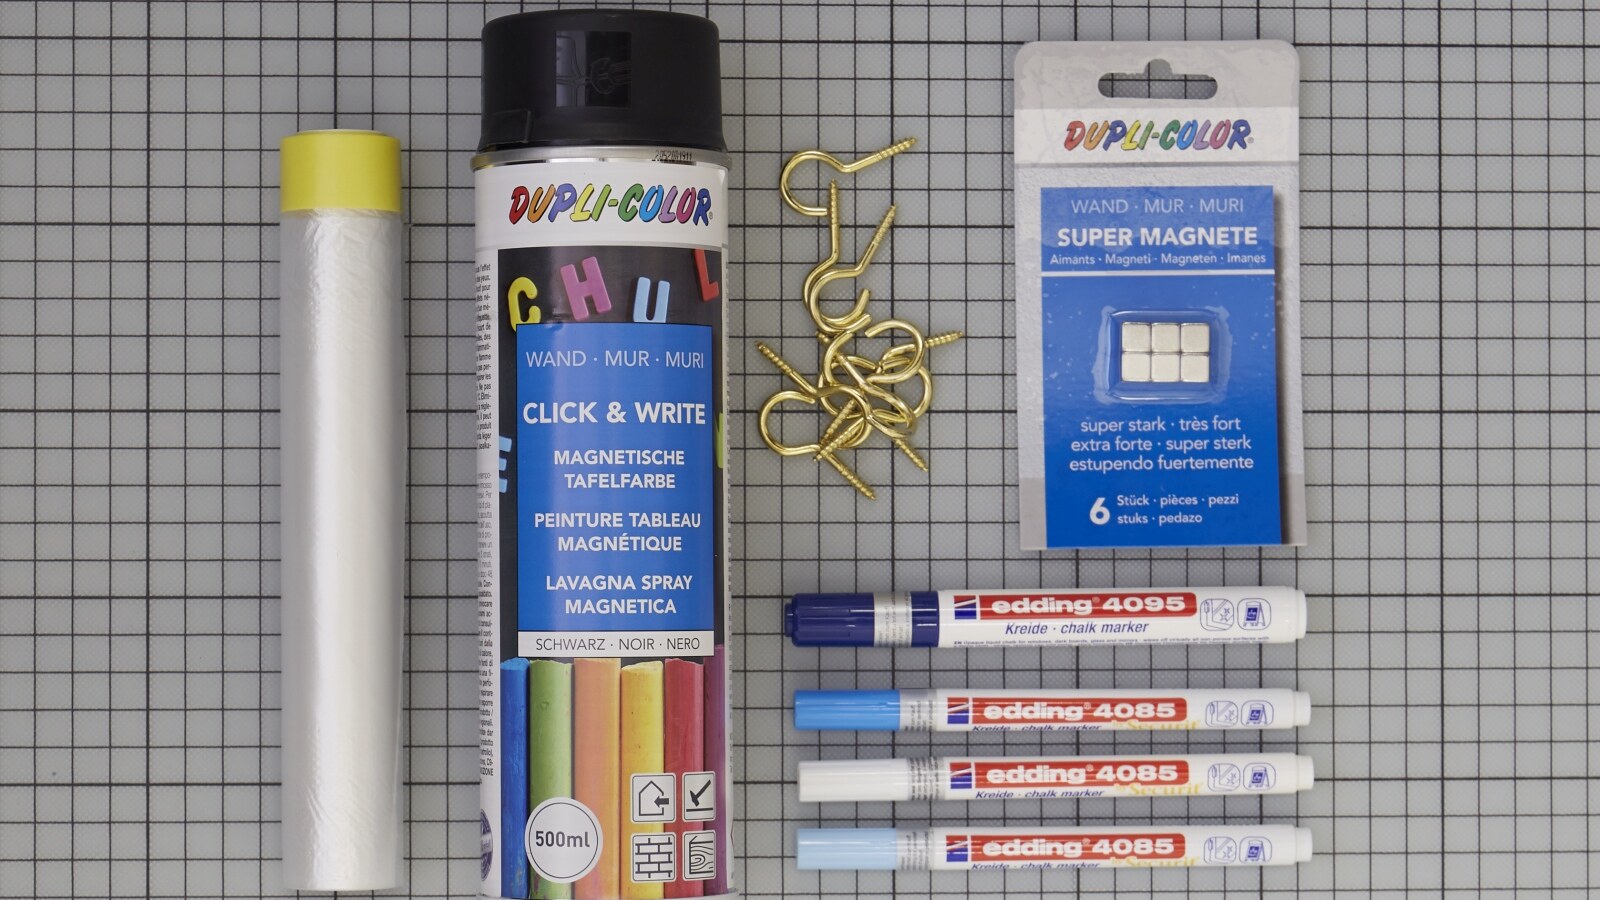
You can see the main items you need in our photo. We used theedding 4085 chalk marker by Securit in blue metallic, but there are 20vibrant colours to choose from. The first step is to unscrew andremove the door of the kitchen cabinet. To paint the wooden strip, it'sbest to go for edding permanent spray in black.
Step 2
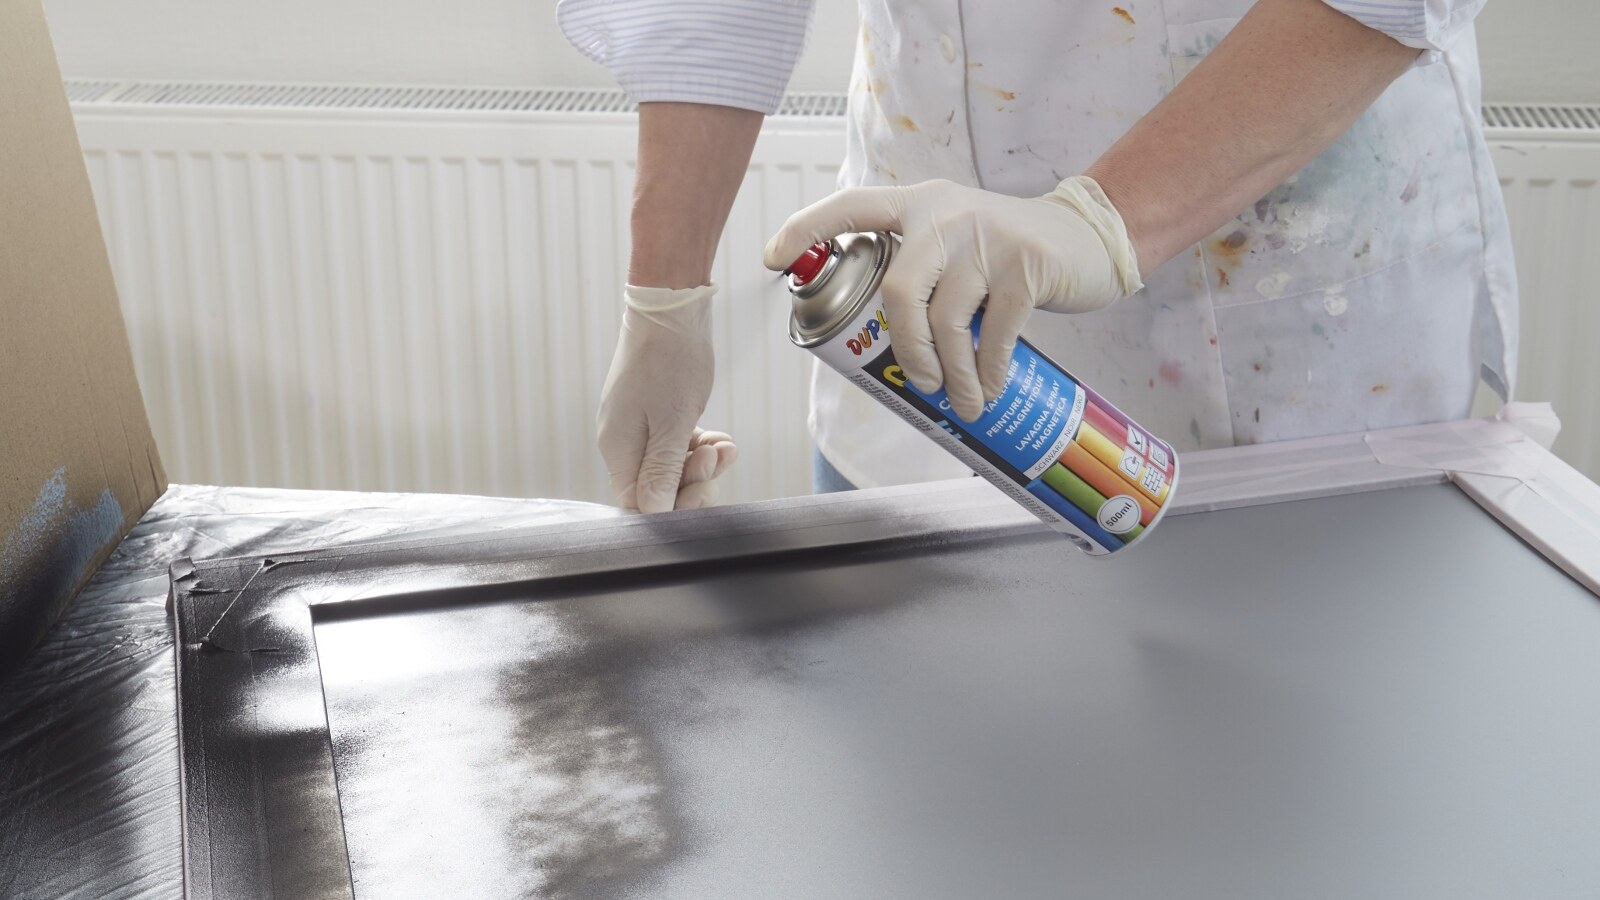
Completely cover your work surface with film and carefully mask theouter frame of the door so it doesn't get sprayed with paint. Next,spray on the chalkboard paint, going over it several times. If you wantto use magnets, it's important to make the paint layer as thick aspossible to give the magnets better adhesion. You should also ensurethe room is well ventilated. Leave the magnetic paint to drythoroughly.
Step3
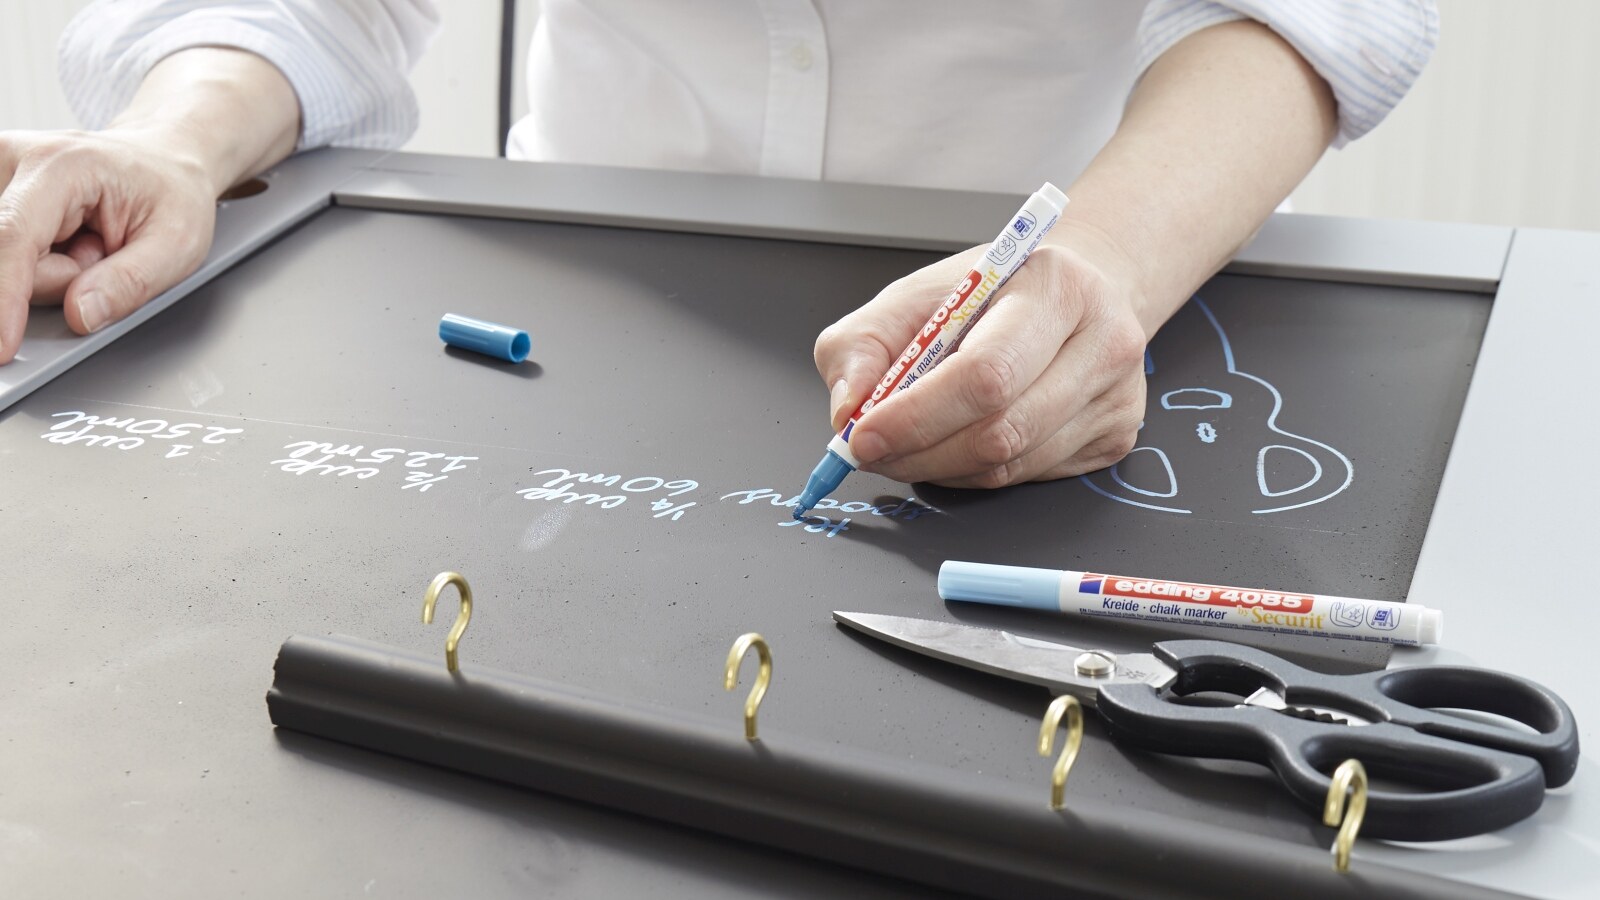
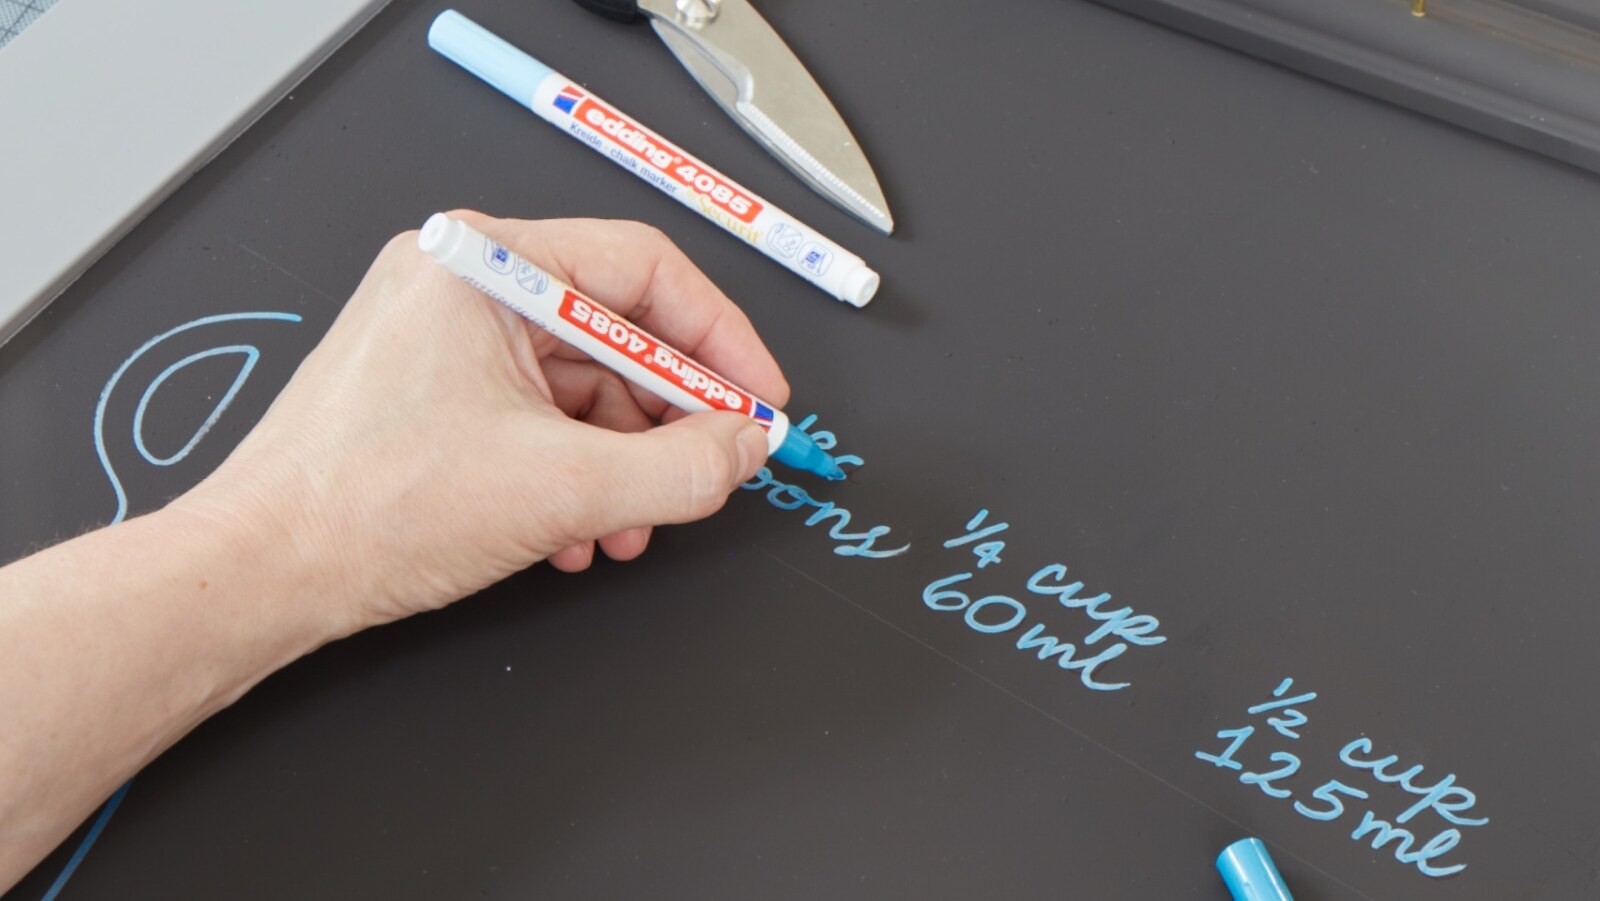
Before you start writing on the cabinet door, activate the chalk markeras follows: shake the marker vigorously with the cap on, then removethe cap and pump the marker a few times on absorbent paper until inkappears in the nib. Now you're ready to get started! Use the activatedchalk marker to add the labelling you require on the chalkboardsurface. After use, always replace the cap securely and store themarker horizontally.
Step 4
You might want to note down a favourite recipe, or maybe thevolumes of your measuring spoons, or perhaps allocate a space tohang kitchen scissors. If your design doesn't look right or you want tochange something, simply wipe it all off with a damp cloth and write itout again. For the hanging measuring spoons, paint a strip of woodwith edding permanent spray in black, insert the screw hooks and gluethe rack to the cupboard door.
Step 5
Once your organiser board is ready, screw the door back onto thecabinet.