
Perfect for any occasion
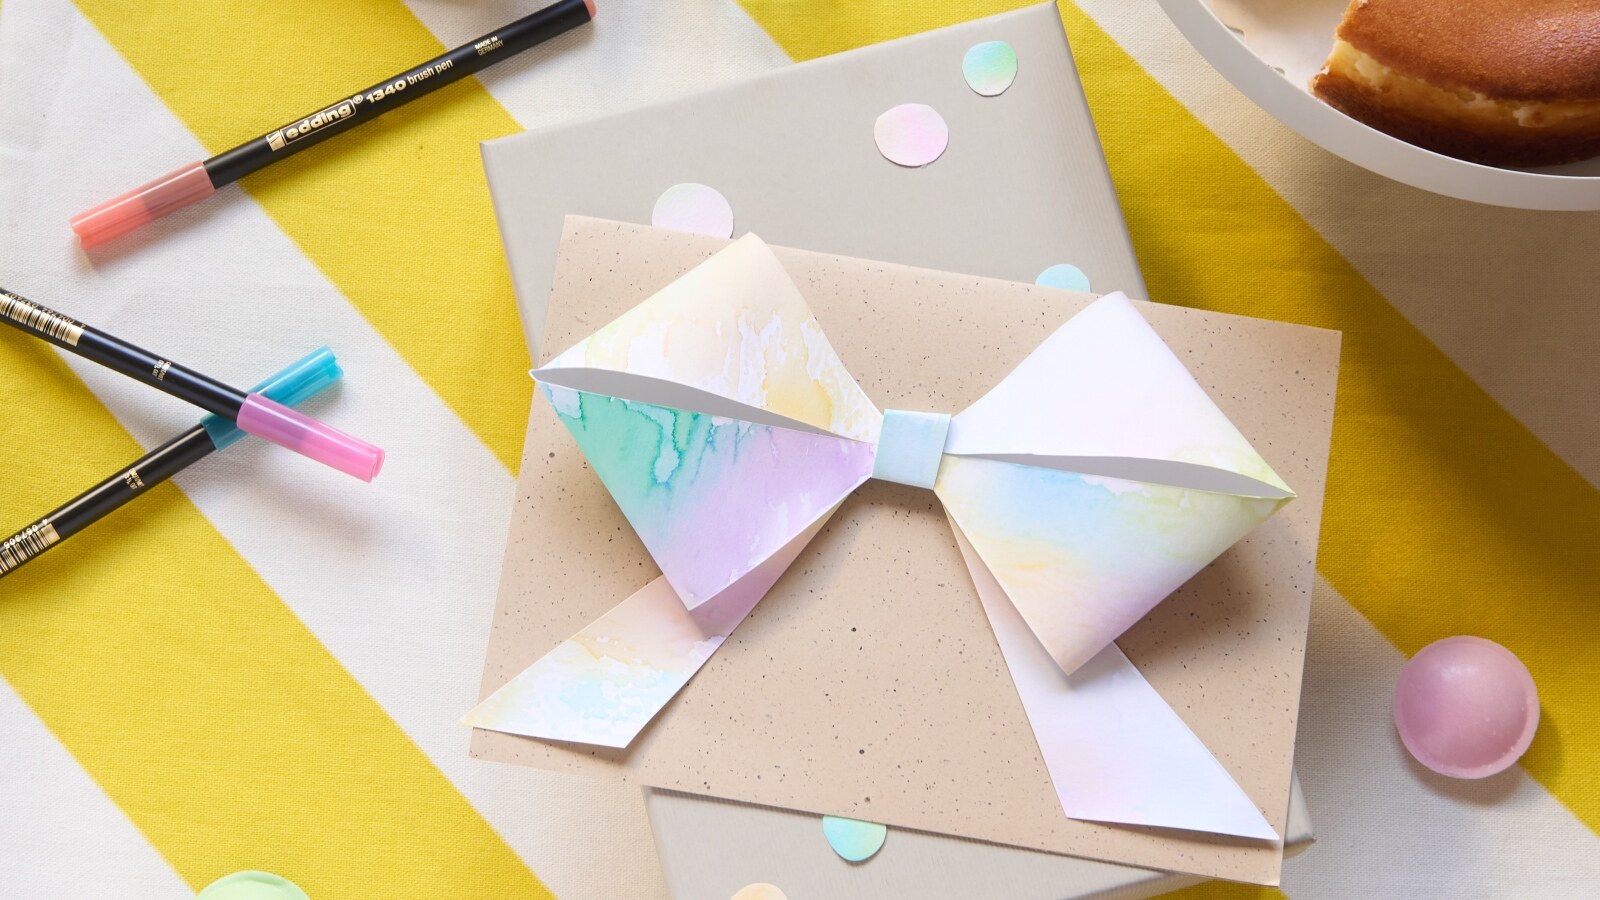
Perfect for any occasion
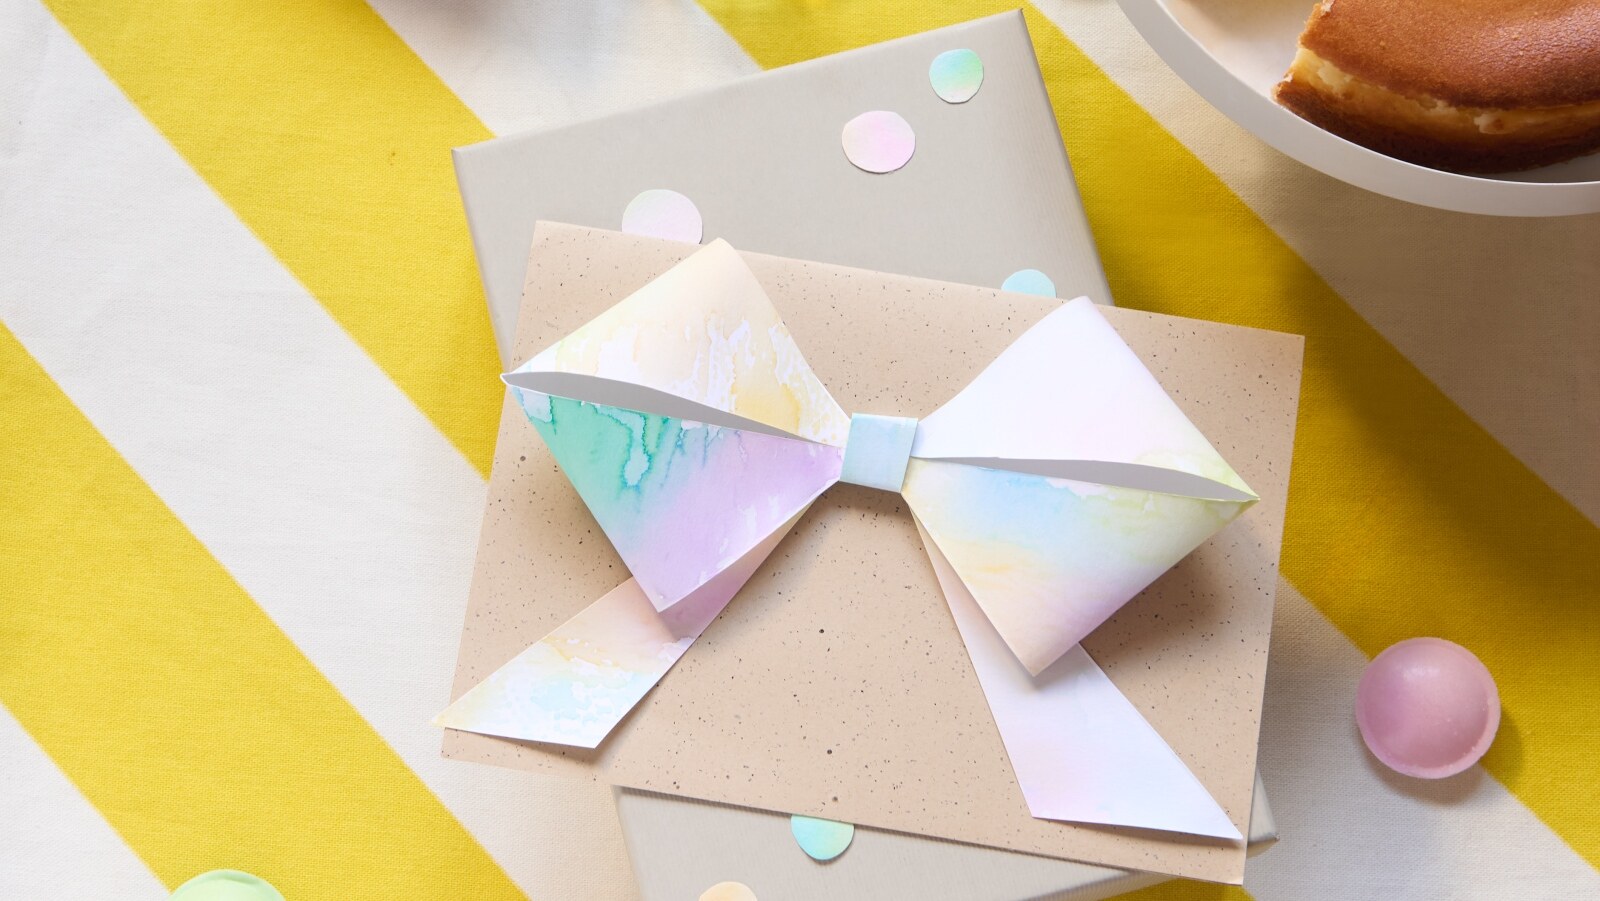
This beautiful greetings card with its fabulous, oversized watercolour bow is the perfect choice for sending a birthday greeting, invitation, gift voucher, thank you note and more. In our simple step-by-step guide, we show you how to create your own stylish, colourful design using edding’s range of brush pens. Available in an extensive selection of colours, the pens feature a flexible brush nib for creating broad brush strokes and blocks of colour as well as accent details using the very tip.
Categories
Colouring and Zendoodle
Craft your own cards
Gift packaging
Products
Fibre and felt pens
Materials
Paper, carton and cardboard
Difficulty
A bit more challenging
Step 1
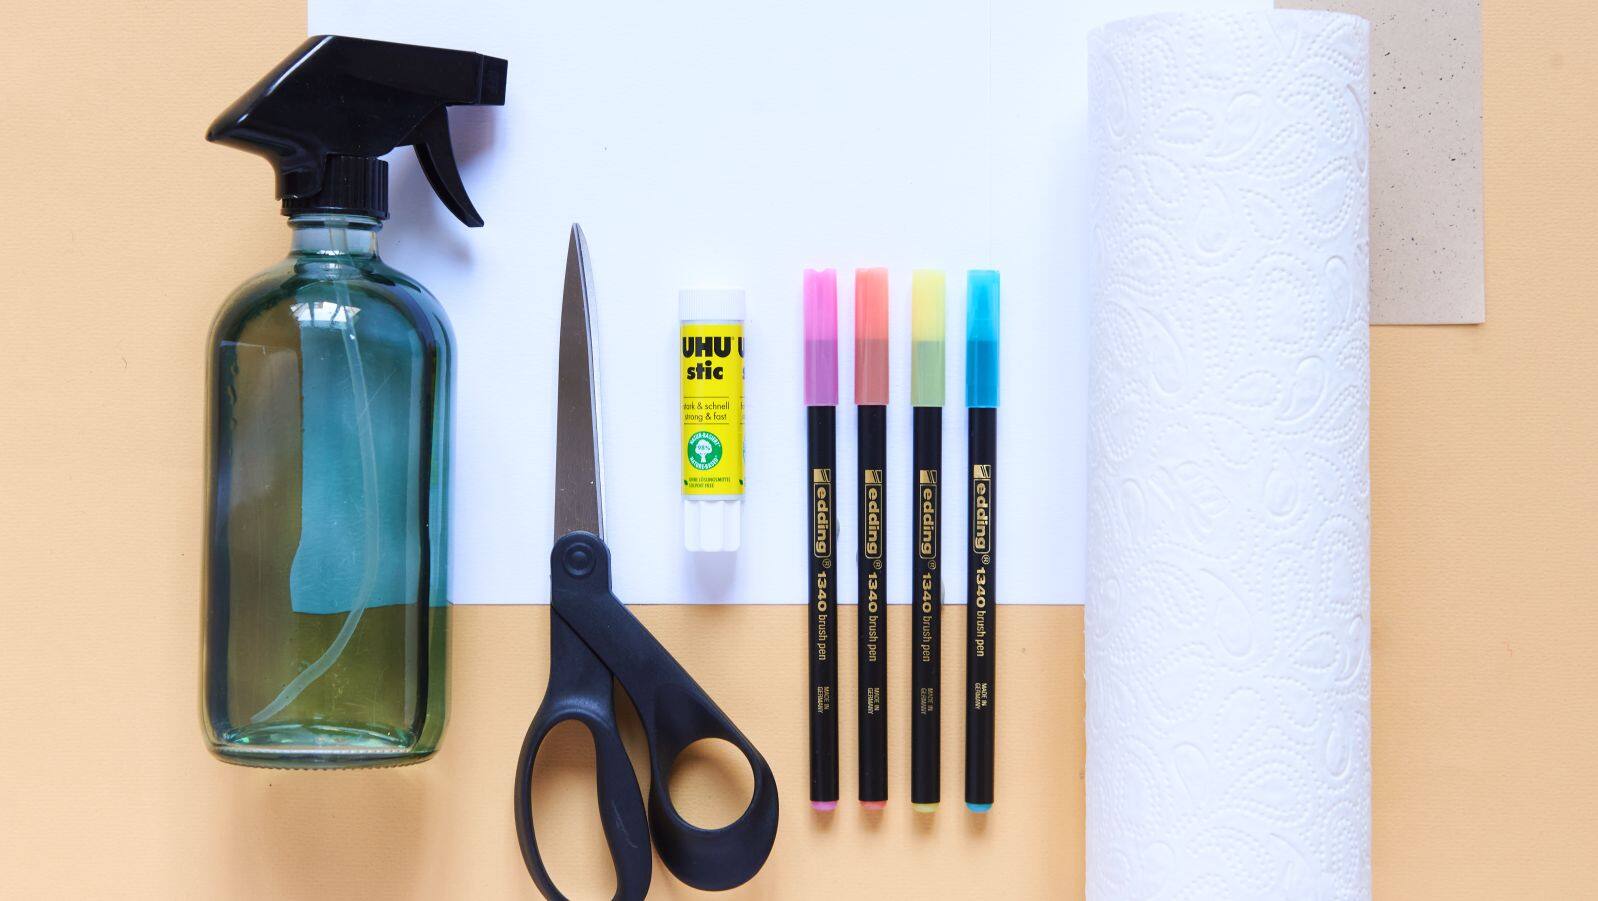
Everything you need for this project is shown in the picture below.edding's 1340 brush pens come in 20 different colours, so simplychoose a selection of your favourites. You'll also need to cut yourwhite paper into a square that is the same size as a sheet of yourkitchen paper.
Step 2
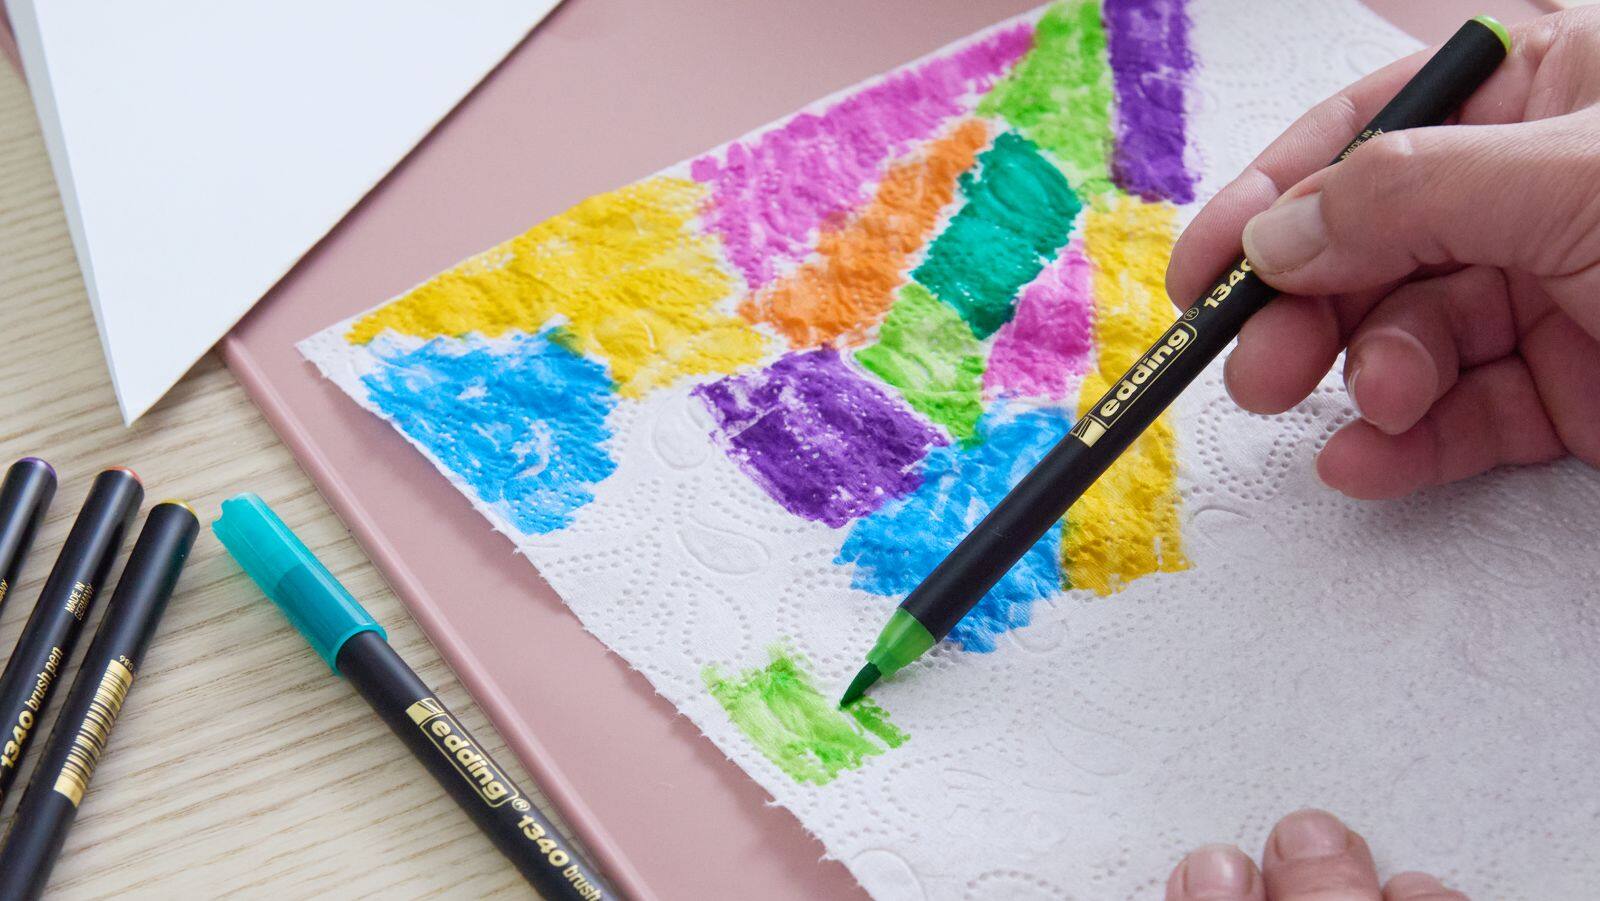
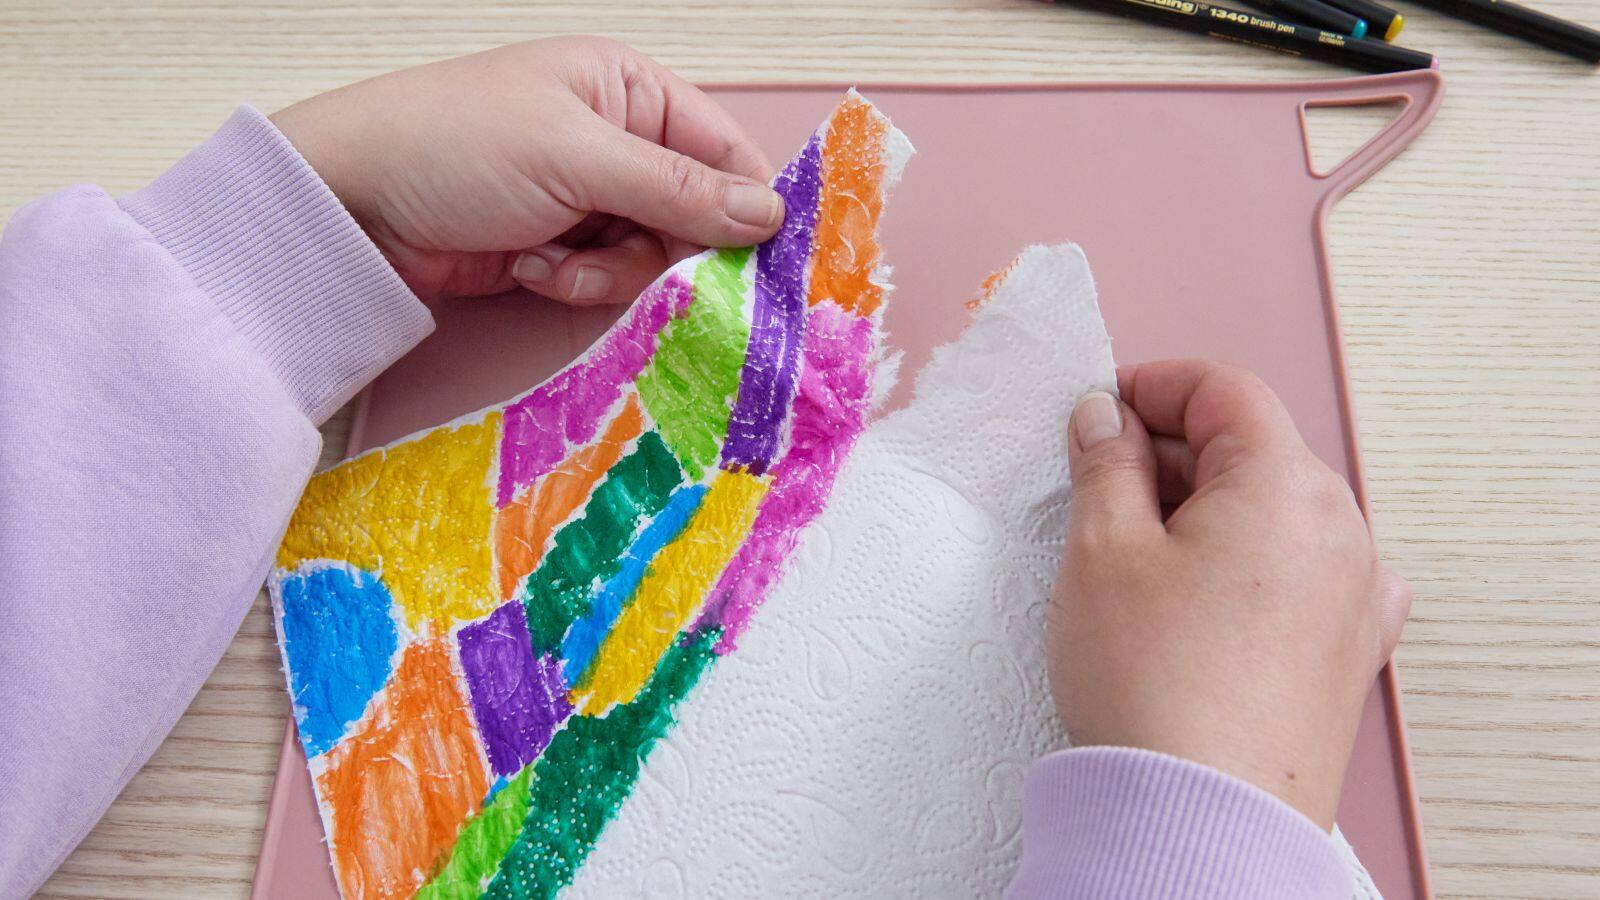
Tear off a sheet of kitchen paper and decorate half the sheet (splitalong the diagonal) however you like, with lots of different blocks ofcolour. It's a good idea to hold your brush pens as flat as possiblewhen doing this, so that you can use the full width of the nib.
Step 3
Once you've finished colouring half your sheet of kitchen paper,carefully remove the other half.
Step 4
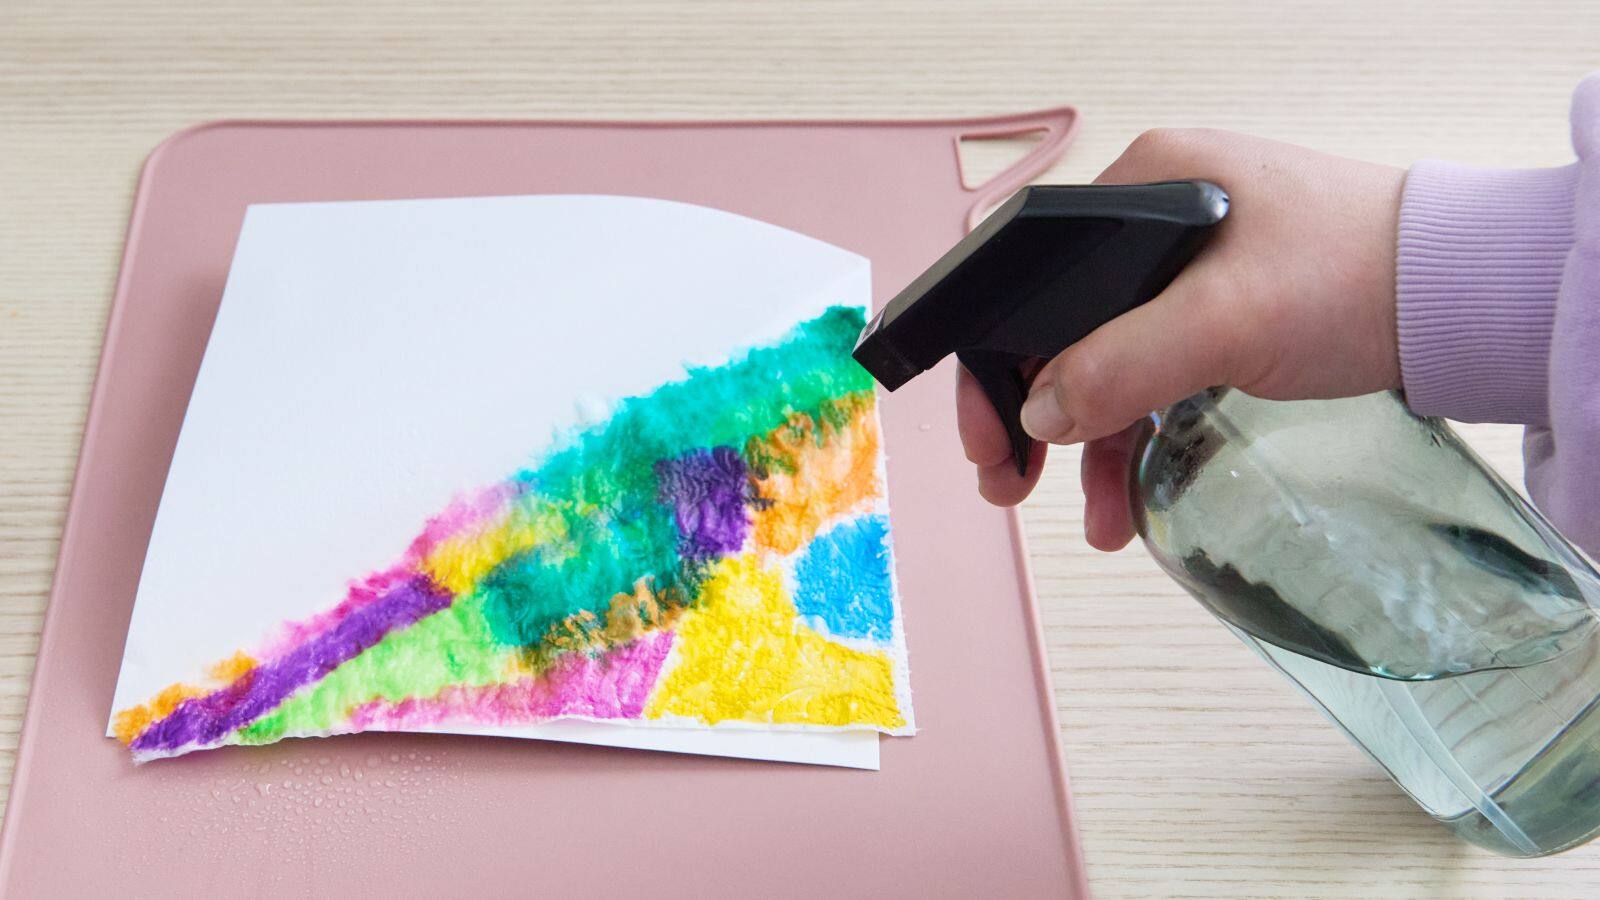
Place your decorated kitchen paper onto your white paper, makingsure the edges are lined up. Then spray the kitchen paper with wateruntil it is completely soaked through.
Step 5
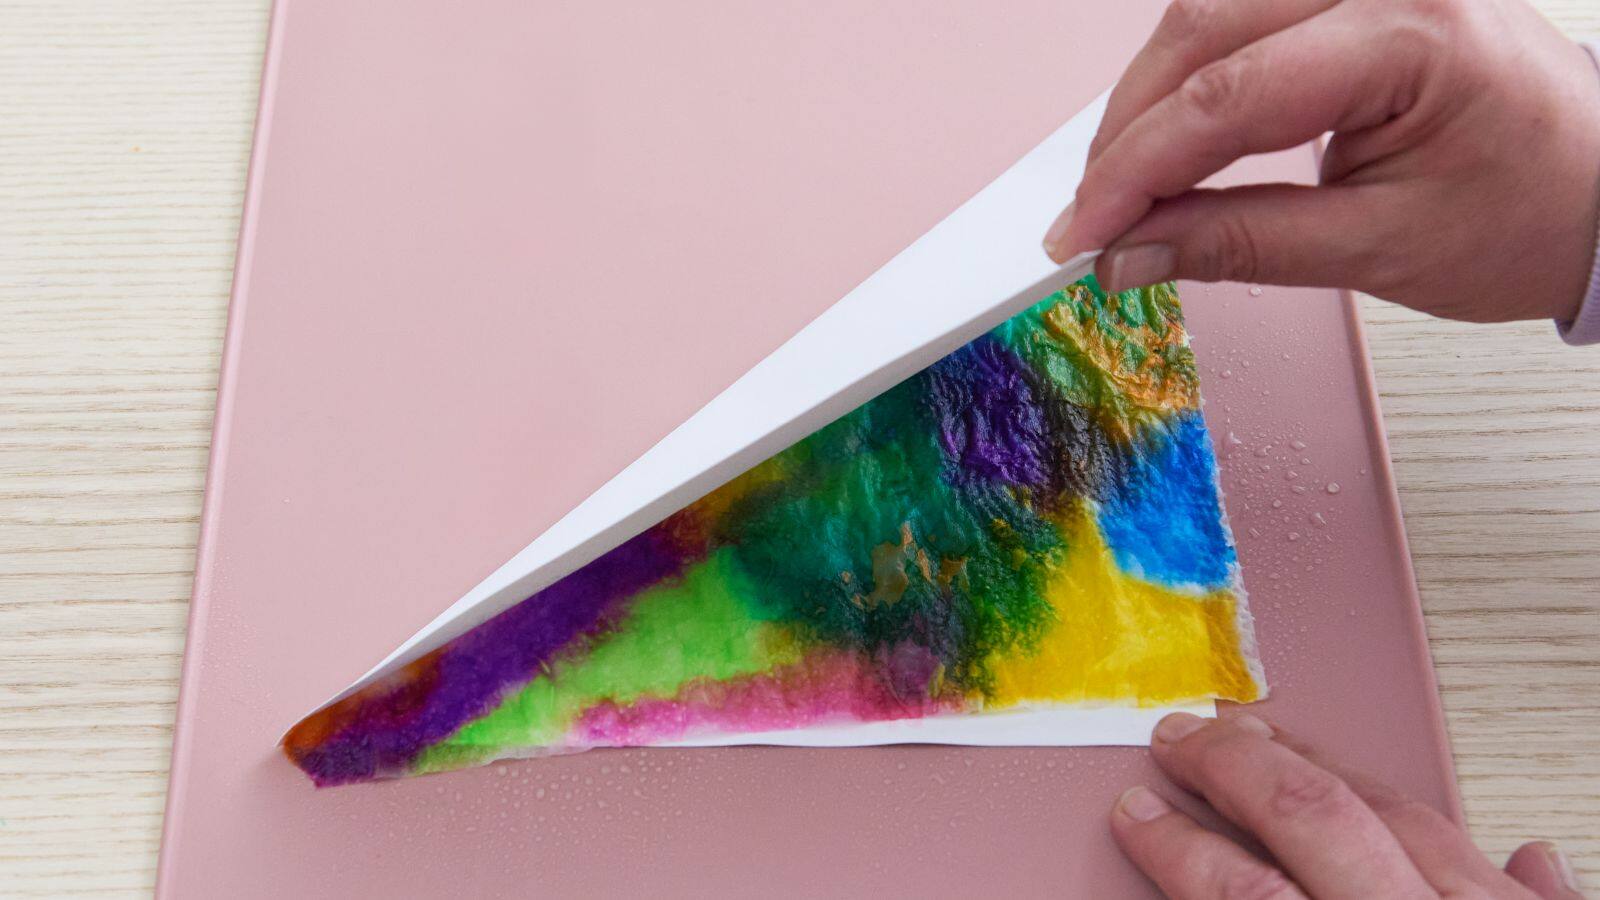
Fold the other half of your white paper over the wet kitchen paper andpress down firmly.
Step 6
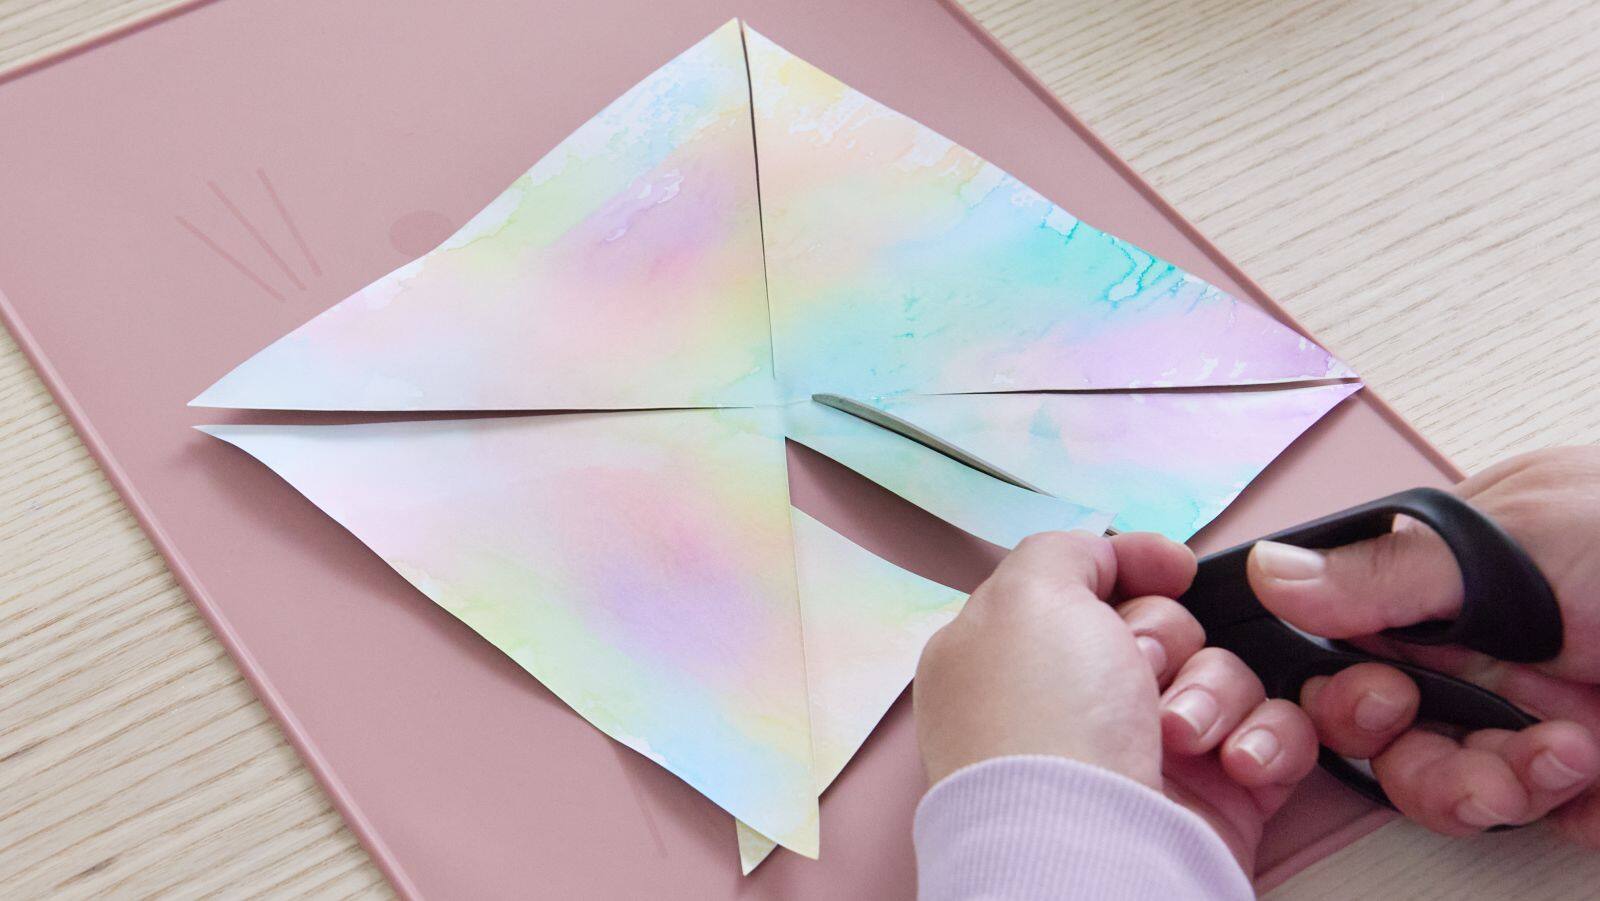
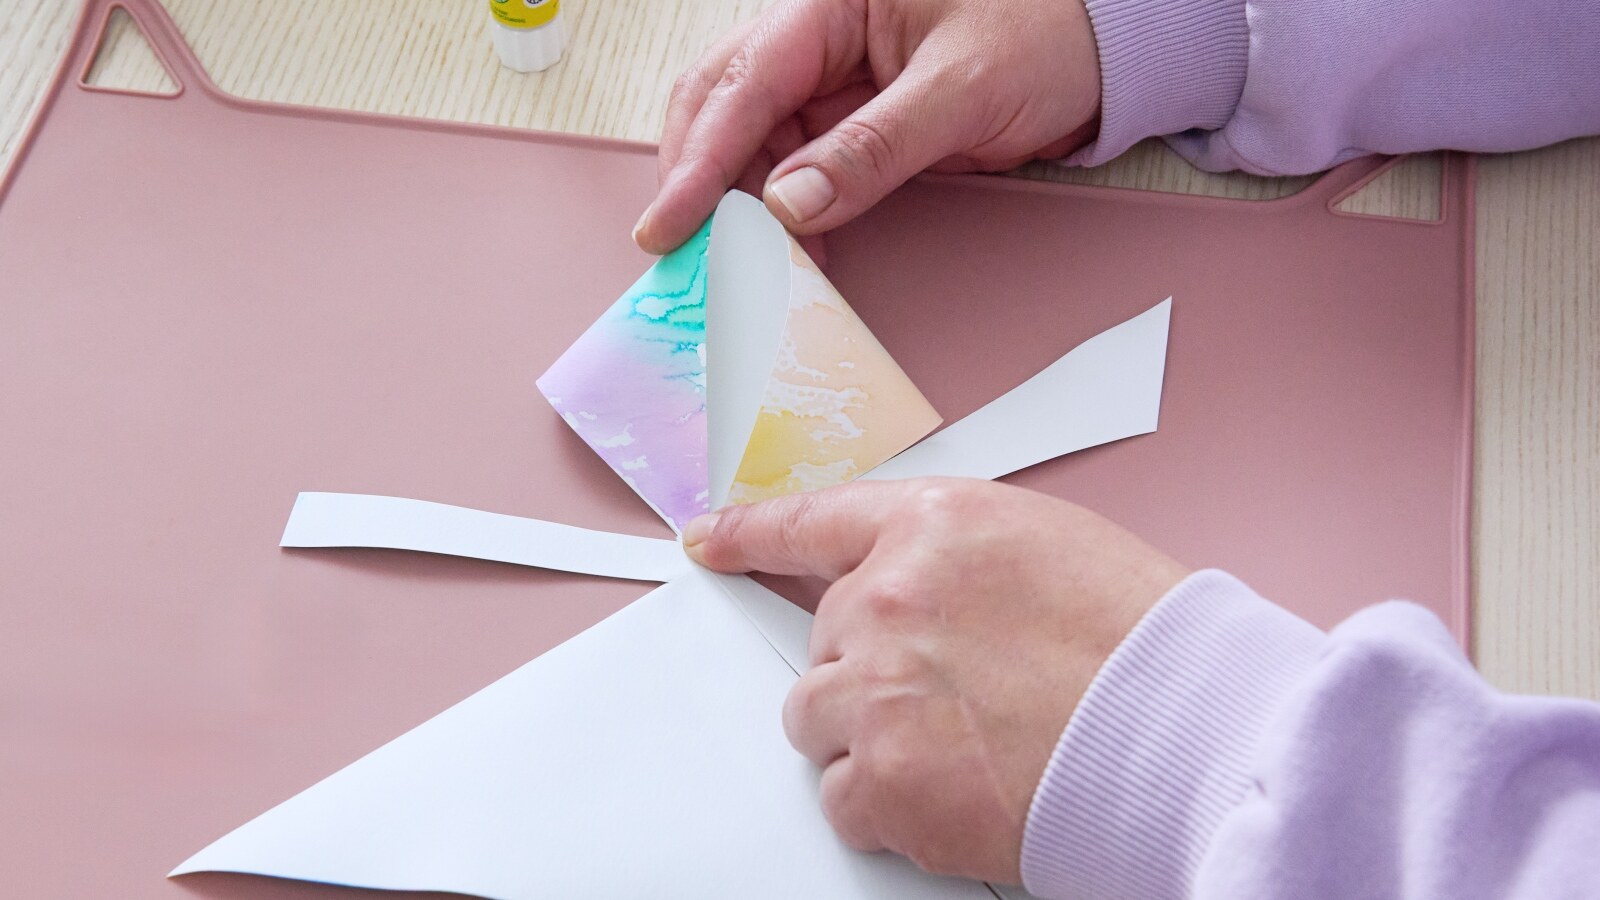
Leave the paper to dry completely before unfolding and removing thekitchen paper. You'll see that the watercolour effect has transferredbeautifully onto the whole sheet of paper. Next, mark a 1cm square inthe centre of your paper using a pencil and cut a line from each cornerof your paper up to this square. Remove two triangles from thebottom left and right corners as shown in the picture, so that only anarrow strip remains in the centre.
Step 7
Repeat the same process on the opposite side, so you're left with anarrow strip on both sides. Turn your paper over and fold the two largetriangles into the centre as shown in the picture.
Step 8
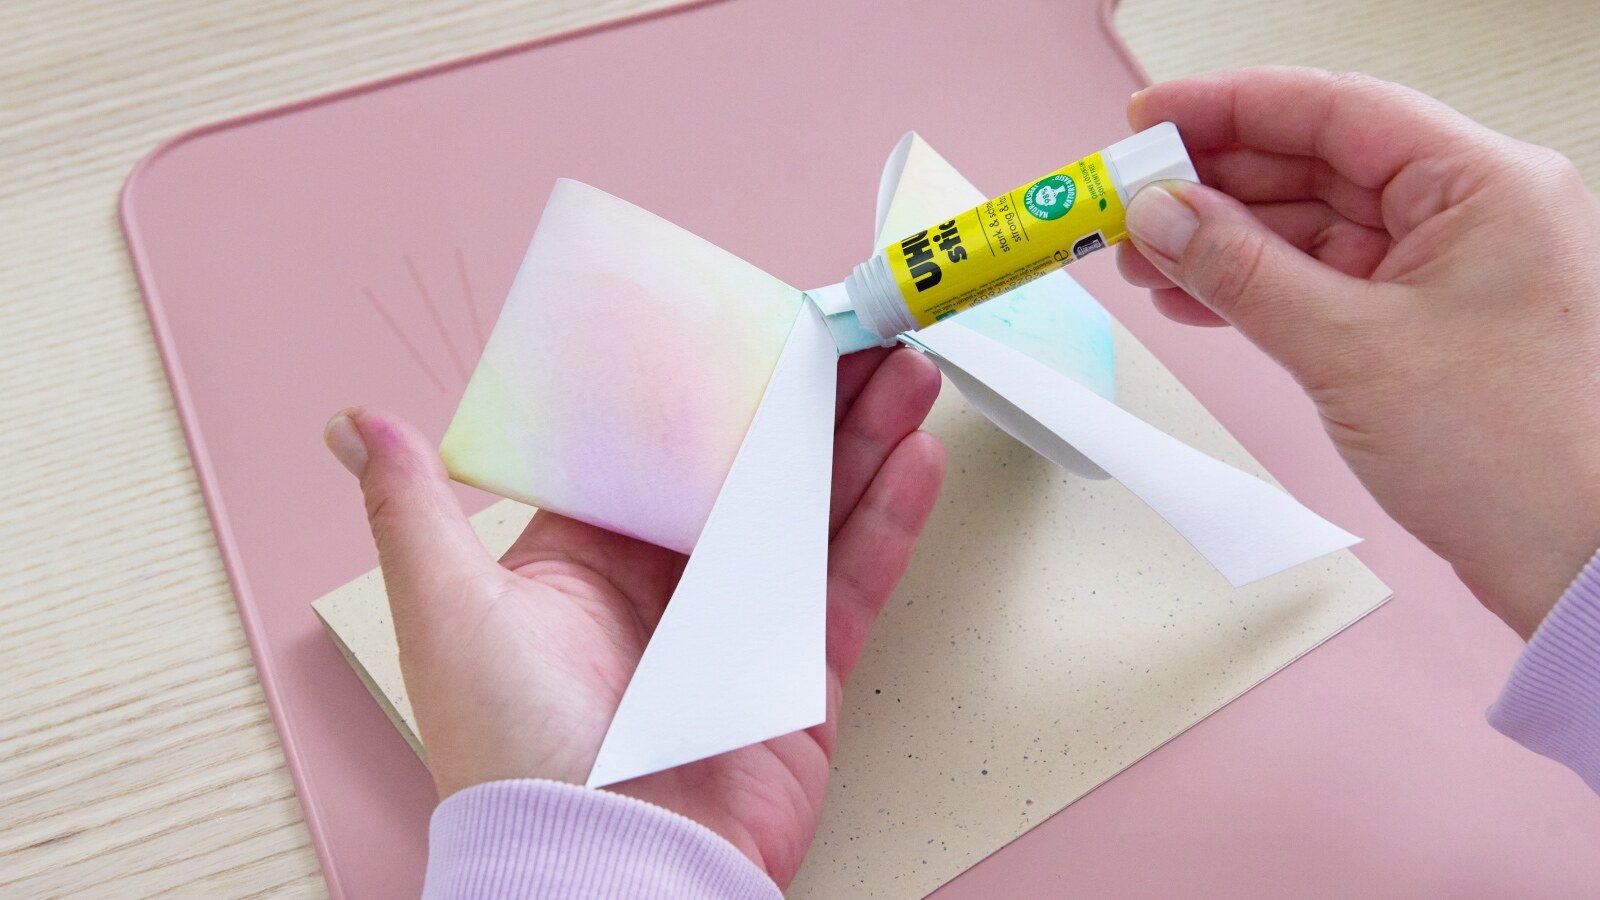
To finish your bow, wind the two narrow strips of paper around thecentre to create a knot and glue in place.
Step 9
Finally, attach your finished bow to your greetings card.